Accessing apis with client credentials flow
Client Credentials Flow is a one of the grant types in OAuth 2.0 in which client applications use client_id, client_secret and sometimes a scope in exchange for an access_token to access a protected API resource.
Can we improve it?
Yes. But first, let’s create a few collection variables to store the authorization credentials we need. The trick here is to group all your API requests into a collection. To do this, click the “Collections” menu and then click the symbol as shown in the following:
You can name the collection to whatever you like for as long as it’s meaningful. 😉 For this example, we’re just going to name it as “Weather APIs”. Under the “Authorization” tab of the collection, select OAuth 2. 0 as the type just like in the following:
Clicking the OAuth 2.0 item should present you a new screen. Leave the default values as is for now. We’ll get back to them later.
Next, let’s configure a few local collection variables. Go ahead and switch to the Variables tab and add the following entries:
In the preceding screenshot, we’ve set the issuer, client_id, client_secret and scope values in it’s own variable. Just make sure you replace these values with the correct values you have and then click “Save”.
Tip: Depending on your needs or if you prefer, you can also define them in Global or Environment variables.
Creating the pre-request script
Now, switch to the “Pre-request Script” tab in the collection and copy the following scripts:
var tokenCreatedAt = pm.collectionVariables.get("WeatherApi_Token_CreatedAt");

if (!tokenCreatedAt) {
    tokenCreatedAt = new Date(new Date().setDate(new Date().getDate() - 1))
}

var tokenExpiresIn = pm.collectionVariables.get("WeatherApi_Token_ExpiresIn");

if (!tokenExpiresIn) {
    tokenExpiresIn = 5000;
}

var tokenCreatedTime = (new Date() - Date.parse(tokenCreatedAt))

if (tokenCreatedTime >= tokenExpiresIn) {

    console.log("The token has expired. Attempting to request a new token.");

    pm.sendRequest({
        url: pm.variables.get("WeatherApi_AuthorityUrl"),
        method: 'POST',
        header: {
            'Accept': 'application/json',
            'Content-Type': 'application/x-www-form-urlencoded'
        },
        body: {
            mode: 'urlencoded',
            urlencoded: [{
                    key: "client_id",
                    value: pm.collectionVariables.get("WeatherApi_ClientId"),
                    disabled: false
                },
                {
                    key: "client_secret",
                    value: pm.collectionVariables.get("WeatherApi_ClientSecret"),
                    disabled: false
                },
                {
                    key: "scope",
                    value: pm.collectionVariables.get("WeatherApi_Scope"),
                    disabled: false
                },
                {
                    key: "grant_type",
                    value: "client_credentials",
                    disabled: false
                }
            ]
        }
    }, function(error, response) {
        console.log(response.json().access_token);

        pm.collectionVariables.set("WeatherApi_Token_CreatedAt", new Date());
        pm.collectionVariables.set("WeatherApi_Jwt", response.json().access_token);

        var expiresIn = response.json().expires_in;

        if (expiresIn) {
            tokenExpiresIn = expiresIn * 1000;
        }

        pm.collectionVariables.set("WeatherApi_Token_ExpiresIn", tokenExpiresIn);
    });
}
Let’s see what we just did by breaking out the code.
The first thing that we did there was getting the value of WeatherApi_Token_CreatedAt variable. When running the script for the first time, that call will return an empty value because we haven’t set any value for that variable. Let’s take a look at the next code:
if(!tokenCreatedAt){
  tokenCreatedAt = new Date(new Date().setDate(new Date().getDate()-1))
}
The preceding code initializes the tokenCreatedAt variable with the previous day. This is to ensure that we issue a request for getting a new access token on the first run. Same goes for the handling the tokenExpiresIn value:
if(!tokenExpiresIn){
    tokenExpiresIn = 5000;
}
The preceding code initializes the tokenExpiresIn value to 5 seconds when the WeatherApi_Token_ExpiresIn is empty.
Get-запросы
В качестве примера возьмем API:
Is there a way to fully automate this?
You bet! They key to full automation is writing a script. Fortunately, Postman has a feature that allows us to write scripts using JavaScript to perform custom actions before a request is sent. This is called “Pre-request Script”.
Before we begin writing the scripts for automation, let’s add the following new collection variables:
The preceding screenshot shows the following newly added variables:
WeatherApi_Token_CreatedAt– Holds the token generation date.WeatherApi_Token_ExpiresIn– Holds the token expiry expressed in milliseconds.WeatherApi_Jwt– Holds the value ofaccess_token.
We’ll leave the variable values empty as we will be populating them dynamically from the script that we are going to create next.
Learning the basic
If you’ve been using Postman to peform basic Web API testing, feel free to skip this part. But if haven’t tried using Postman before and would like to know how to use it to test your Web APIs, then keep reading as I’ll show you how we can easily setup the configuration for you to be able to test protected Web APIs.
Postman is really a handy tool to test API’s without having you to create a UI and it’s absolutely free. In fact, it offers a ton of features that makes it a power tool for managing and testing APIs. If you haven’t installed it yet, go ahead and download it here.
After downloading, install it in your machine so you can start testing. The following screenshot shows the Postman app running on my machine using v8.0.6 – the latest version as of this time of writing.
Postman — как инструмент тестирования api
Я начинаю цикл ознакомительных и обучающих статей по Postman. Цель данного цикла — помочь новичкам овладеть этим инструментом и начать применять его в работе. Первая из статей будет вводная, в которой я расскажу для чего нужен Postman, как начать им пользоваться, а так же разберу несколько простых запросов.
В настоящее время, тестировщики достаточно часто сталкиваются с ситуацией, когда задача звучит следующим образом: “Протестируй апиху, пожалуйста, тебе бэкенднер документацию скинул”. В этот момент у многих может случиться ступор. Но опытные тестировщики сразу же подумают о Postman.
Post-запросы
POST-запросы позволяют отправлять новую информацию. Например, данные о пользователе:
The scenario
Most Web APIs (if not all) are protected with JSON Web Tokens (JWT). In ASP.NET Core, this is done by configuring our Web APIs with a “Bearer” authentication scheme. When our APIs are decorated with the [Authorize] attribute, the requesting clients should provide the access token generated from the Authorization Server and pass it as a Bearer Authorization Header before clients can be granted access to our API endpoints.
Various ways on configuring bearer token generation
The previous approach is is perfectly fine if you are only testing a couple of API endpoints, but when dealing with many endpoints, you should consider automating them as much as possible to improve your productivy. Let’s see how we can do this in Postman.
Please know that there are many ways on how to setup your automation and this is just one of them.
The first approach is using the a Global Variable feature of Postman. Go ahead and click the “eye” icon as shown in the following:
Alternatively, you can click the “Environments” icon from the left panel:
Clicking whichever icon should display the following dialog:
The preceding screenshot allows us to set global or environment-specific variables. If you are dealing with multiple environments like (Dev, Test, Stage and Prod), then you may want to consider using the Environment feature to setup environment-specific variables. In this example, we’re just going to use a a global variable to store the bearer token for the sake of simplicity.
Tip: For more information about variables usage and their scopes, see: Understanding Postman Variables
Now, click “Edit” and from there, you should be able to define whatever variables you need. For this example, we’re going to store the value of access_token value in a variable called AuthTokenVar as shown in the following:
After saving the configuration, the variable AuthTokenVar should be accessible anywhere in your workspace regardless of which environment you’re on. Here’s the updated configuration of the /weatherforecastrequest using the AuthTokenVar variable.
Главное о postman
- Postman — самый популярный сервис, чтобы тестировать API. Его используют более семнадцати миллионов разработчиков.
- В Postman есть бесплатная версия. Ее функций вполне достаточно, чтобы решать базовые задачи.
- Приложение работает по принципу запросов. Они могут включать данные, которые приложение будет запрашивать у API. Данные могут передаваться не только в виде текста, но и файлов.
- Основные преимущества Postman: простой интерфейс, поддерживает разные типы API, интегрируется и поддерживает расширения, которые позволяют настроить программу, чтобы решать конкретные задачи.
Для чего нужен postman?
Postman предназначен для проверки запросов с клиента на сервер и получения ответа от бэкенда. Можно описать общение Postman с бэкендом в виде диалога:
Postman: “Дай мне информацию по балансу именно этого пользователя”Backend: “Да, конечно, запрос правильный, получи информацию по балансу этого пользователя”
Такой позитивный диалог происходит в том случае, если ошибок на бэкенде нет и разработчик сделал всё согласно документации. Но не всегда это происходит в таком успешном ключе. В моей практике случались следующие диалоги:
Postman: “Дай мне информацию по балансу именно этого пользователя”Backend: “Кто я вообще?”
или
Postman: “Дай мне информацию по балансу именно этого пользователя”Backend: “Пользователь не найден.”
Описанные выше ответы от бэкенда имеют свой код ошибки, которые приходят в ответе.
В первом случае — это ошибка с кодом 500(Internal Server Error) внутренняя ошибка сервера, которая говорит о том, что сервер столкнулся с неожиданным условием, которое помешало ему выполнить запрос.
Интерфейс
Главное окно состоит из четырех рабочих блоков:
- основное меню;
- сайдбар;
- выбор типа запроса и сам URL;
- рабочая область.
История запросов
Если некоторые запросы используете чаще других, необязательно раз за разом вводить новые данные. Можно воспользоваться списком в разделе History. Он хранит предыдущие запросы.
Как выполнить запрос
В Postman запросы — основная рабочая единица. Чтобы выполнить запрос, нажмите « » и выберите его тип. Например: «основной — GET». После укажите URL в адресной строке и щелкните Send.
Как запускать коллекции тестов
В Collection Runner
В разделе Collections найдите кнопку Run.
В новом окне выберите окружение и задержку. Если тест будет выполняться без задержки, его результат может быть ошибочным, поэтому лучше указать хотя бы минимальное значение.
Установите значение iterations равным десяти и нажмите Send.
Откроется отчет, который можно экспортировать (Export Results).
В Newman
Это приложение, которое использует командную строку вместо графического интерфейса. С его помощью можно запускать тесты с консоли.
Как пользоваться?
Итак, есть документация, есть Postman, коллекция создана. Что дальше?
Все виды документации по API выглядят примерно одинаково. В любом из видов можно увидеть какой метод нужно использовать, какой URL, какие body, params headers и так далее.
Как сделать авторизацию в postman?
Добрый день. Просьба подсказать, как правильно создать запросы с использованием любого удобного REST API клиента: auth и token?
Пользуюсь на данный момент Postman. В общении с API я полный ноль. Поэтому нужна помощь. Вообще с чего начала:
1. Создал коллекцию.
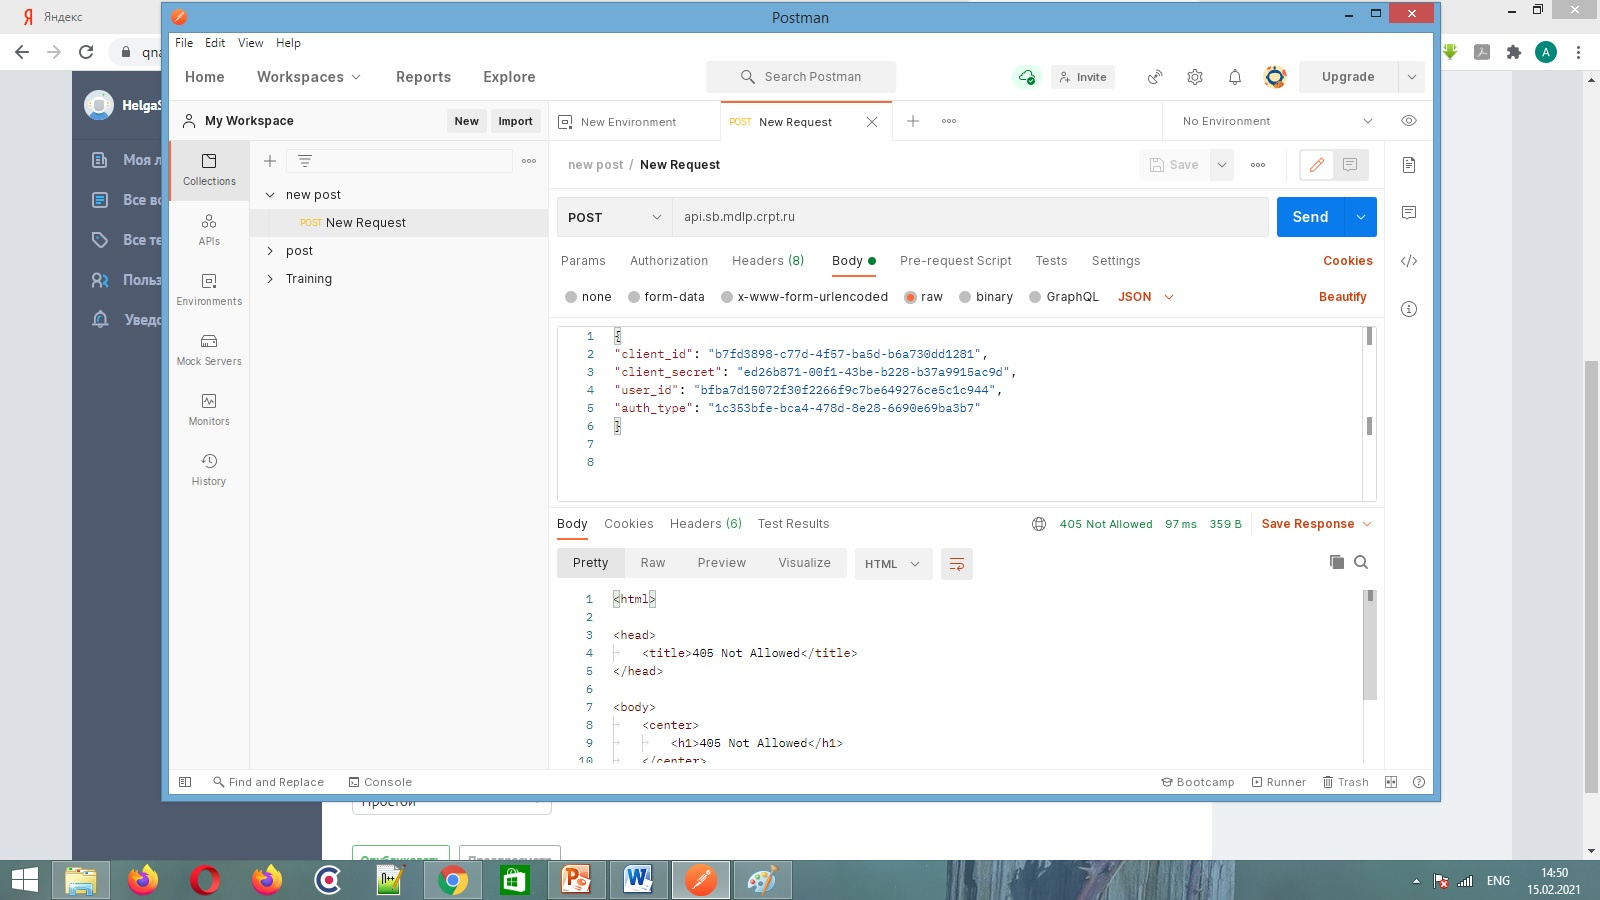
2. Пользуюсь методом Post (верно ли?)
3. Ввожу все данные и в ответ получаю ошибку 405 (картинка 1)
4. Пробовал с методом Get, понимаю, что это немного не то, вышел ответ такой:
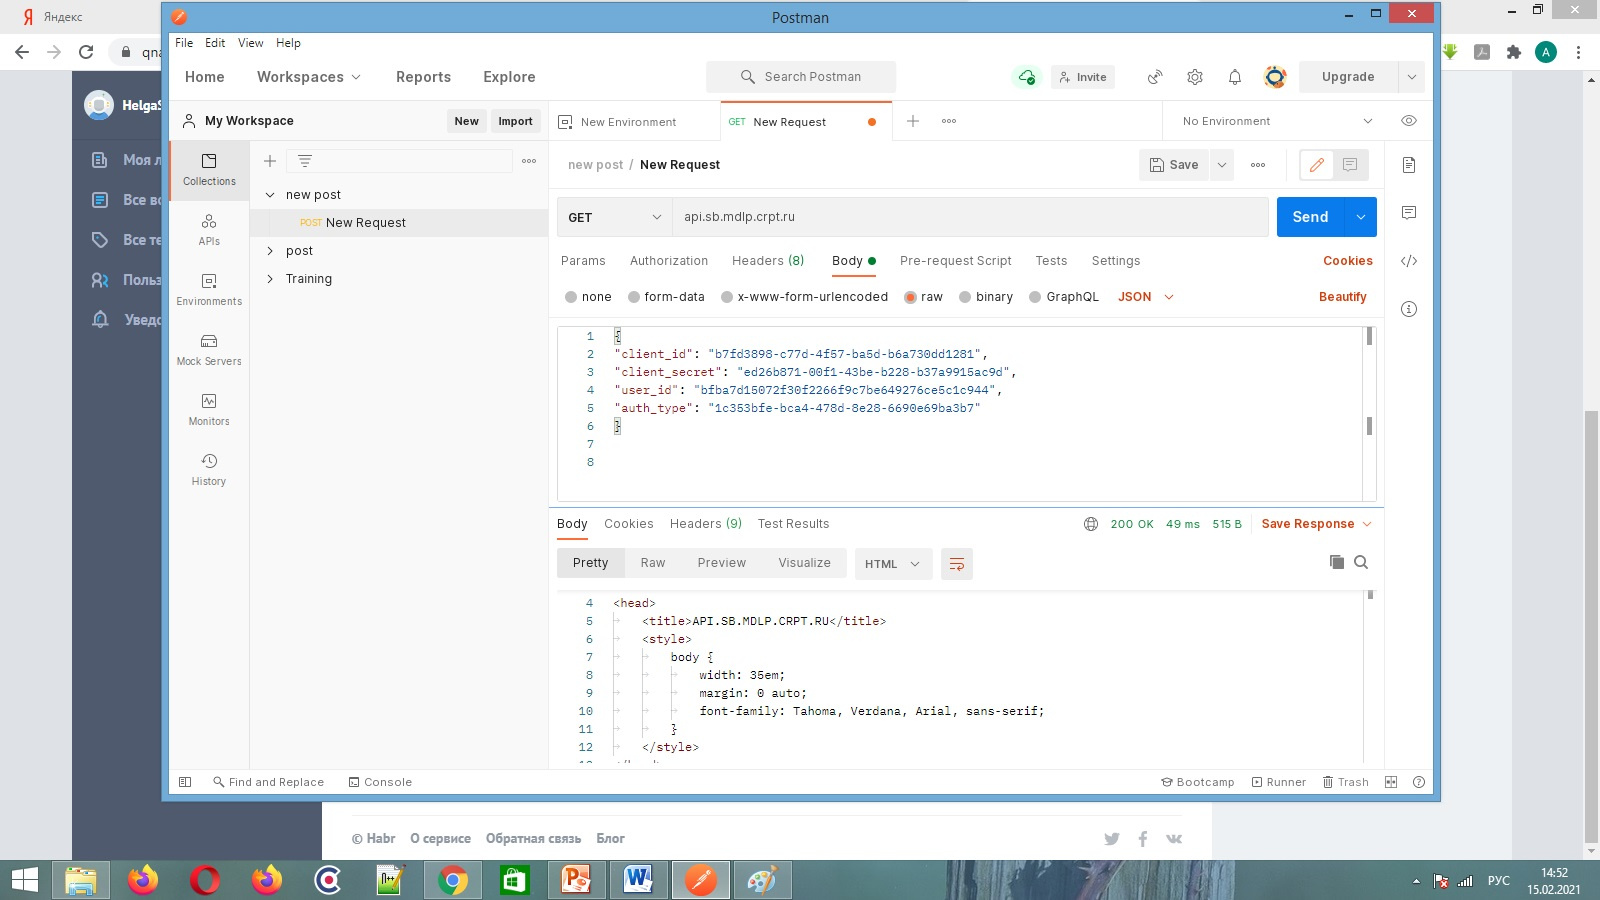
Но пароль не получила.
5. Пробовала и через Oauth2, получал новое окно на сайт “песочницы”:
https://sb.mdlp.crpt.ru/?response_type=code&state=…
Так собственно вопрос, что я делаю не так?
Есть только такие данные:
POST api/v1/auth HTTP/1.1
Host: api.sb.mdlp.crpt.ru
Accept: application/json
Content-Type: application/json
{
“client_id”: “b7fd3898-c77d-4f57-ba5d-b6a730dd1281”,
“client_secret”: “ed26b871-00f1-43be-b228-b37a9915ac9d”,
“user_id”: “bfba7d15072f30f2266f9c7be649276ce5c1c944”,
“auth_type”: “1c353bfe-bca4-478d-8e28-6690e69ba3b7”
}
Как создать тесты в postman
В Postman тесты нужны, чтобы определить ошибки в работе API и переписать неправильные фрагменты кода. Чтобы запустить тест, откройте запрос и перейдите в раздел Tests.
Введите следующий код:
pm.test("Status test", function () {
pm.response.to.have.status(200);
});
Нажмите Send, чтобы Postman запустил тестовый сценарий. Выходные данные появятся на вкладке Tests Results. Если всё выполнено верно, будет написано:
PASS: «Status code: Code is 200».Как тестировать запросы
С помощью Postman можно отправлять запросы независимо от того, тестируете ли вы собственный API или интегрируетесь со сторонним. Запросы создают в конструкторе — главном рабочем пространстве программы. Вы можете проверить любые параметры — например, заголовки или cookie.
Коллекции запросов
Чтобы хранить запросы, есть специальные архивы — коллекции. Здесь можно структурировать, организовывать запросы, раскладывать по папкам, чтобы их было проще найти. Это полезно для средних и больших проектов.
Чтобы создать коллекцию: в разделе Collection нажмите « » → дайте ей название → заполните запросами (Add request).
Conclusion
In this article we’ve discussed several authorization methods. In terms of authorization, Postman is much more powerful though. OAuth 2.0, Hawk and some more specific authorization methods are left aside today. Well, that’s a nice reason to get back to this topic one day, isn’t it? 🙂